-
UniFi Controller on a Raspberry Pi
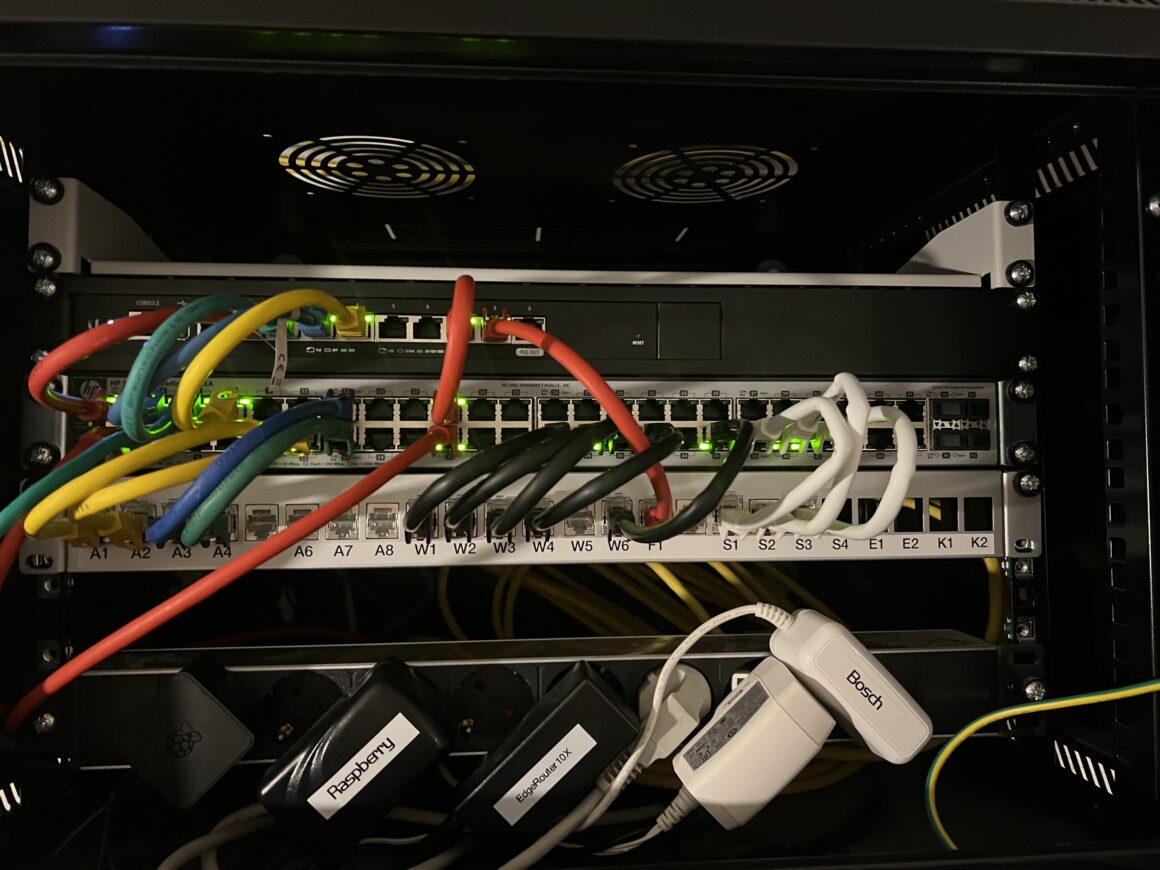
I was looking for a re-use of my old Raspberry Pi 3B+ and as I wanted to see what the Ubiquiti UniFi Controller offers. You can either buy one of their hardware controller, available in different sizes, use your computer (macOS, Windows, Linux) or a Raspberry Pi.
The smallest and cheapest hardware controller is the UniFi Cloud Key Gen2. There is also a “Plus” version available with a built-in HDD but as I wouldn’t require it (useful if you have surveillance cameras) and the small version is currently not available due to chip-shortage/delivery delays I just tried to re-use my Raspberry Pi.
So I found some scripts and how-to’s but quickly realized that the UniFi Controller still requires a very old MongoDB version – as far as I’m aware it’s MongoDB 3.6 (official EOL date April 2021)…and because of this you cannot use the latest Ubuntu or Raspbian releases as the installation will fail. There might be some ways out of that situation but I was looking for a straight forward installation method to get it up and running. So here is what finally worked.
I’m using macOS but should be similar on Windows.
Prerequisites
Raspberry Pi 3 or newer + MicroSD card with around 8GB.
Preparation
Download the official Raspberry Pi Imager (available for macOS, Windows and Linux)
Insert your microSD card in your SD-card reader/slot and select “Raspberry Pi OS (other)” in the Imager, now scroll all the way down and select “Raspberry Pi Lite (Legacy)” it should be a port of Debian Buster (any newer release won’t work out of the box, same for Ubuntu 20 and newer). If this one is not available anymore, I used this one. This is a 32-bit release which is mandatory. 64-bit does not work.
Now choose your SD card and pre-configure the image (enable SSH, locale, WiFi…) as this already configures the system to be ready to use and you don’t need to connect a display and keyboard for the initial setup. So it is ready to run and you can logon via SSH – which we will do in the next step.
Install UniFi controller
Start the Raspberry with your newly created image and wait until it’s booted, find out the IP-address (e.g. on macOS use LanScan, easy and free).
Open the Terminal (or Putty on Windows) and connect to the Raspberry:
ssh <user>@<ipaddress>
and login.
Now update installed packages:
sudo apt-get update && sudo apt-get upgrade -y && sudo apt-get autoremove && sudo apt-get autoclean
Next add Ubiquiti as an additional new source for the package manager:
echo deb https://www.ui.com/downloads/unifi/debian stable ubiquiti | sudo tee /etc/apt/sources.list.d/100-ubnt-unifi.list
And trust the new source:
sudo wget -O /etc/apt/trusted.gpg.d/unifi-repo.gpg https://dl.ui.com/unifi/unifi-repo.gpg
Now install Java, here we are going to use OpenJDK:
sudo apt-get update && sudo apt-get install openjdk-8-jre-headless -y
Finally, you can install another tool called Haveged but this is not mandatory. The reason why I would recommend to install it is to speed up the start time of the UniFi controller. Some users complained that the start of the UniFi controller is very slow. This seems to be related to the fact that the UniFi controller relies on user-mouse-movements to generate random numbers etc. As your Raspberry will be most likely headless without any mouse connected this might be useful. So just install it:
sudo apt install haveged -y
After completing all previous installations, now all the required dependencies are available now and we can install the UniFi controller itself:
sudo apt-get install unifi -y
Once this is complete you can decide if you want to disable MongoDB, I did not try that but MongoDB seems only required for reporting and statistics, so if you don’t use/want/require that, feel free to try that:
sudo systemctl disable mongodb && sudo systemctl stop mongodb
Finally, check your installation:
sudo service unifi status
And do a reboot:
sudo reboot now
After your Raspberry has rebooted you can open your browser and start with the actual setup of the UniFi controller:
https://<RaspberryPiIPAddress>:8443
Have fun 😁
-
Apr 03 2021 Consumer NAS vs. Entry-Level Server
So in my last post I already mentioned that I bought a Dell T320. The intention was and still is to use it as my Home-NAS. I own a QNAP TS-451D2 (4GB) and it has already a lot of features etc, but somehow I was not 100% happy with it. One reason was that it only had 4 bays, but I have 8 drives I would like to use. Another reason was that I wanted the additional features ZFS provides and that is basically not available to the QNAP-consumer series (while it is for the small-business and enterprise series using their QuTS hero OS).
So why buy an old Dell and not upgrade to another QNAP?
Two main reasons, flexibility and price…and of course it’s fun 🤓
- Price
- The extension of the existing QNAP would have been possible with 4 additional bays using the QNAP TR-004 (still missing ZFS). Price: ~200€
- A new 8-bay QNAP NAS with ZFS support e.g. QNAP TS-873A. Price: ~1100€
- Used Dell T320: ~250-300€ (basic configuration)
2. Flexibility
So my T320’s price was about 250€ and provided the following:
- Intel Xeon 6-core CPU 2,4GHz
- 32 GB DDR3 ECC RAM 1333Mhz (3 of 6 slots taken)
- 8 x 3,5″ bays (also available with 16 x 2,5″ bays)
- Dell H310 RAID controller (which I flashed to IT-mode)
- 2 x 147GB, 4 x 300GB drives – all 2,5″ but the 3,5″ caddys can take both sizes. I will not really used the drives but they are ok to play around.
- 1 x 750W PSU, a second PSU can be added
- 2 x 1GBit Ethernet ports
In addition I can add:
- another RAID controller (still 3 x 5,25″ drive bays free)
- a 10GBit Ethernet card
- a USB 3.0 card
- …and still some PCI-E slots left
Yes, I know it consumes more power than the QNAP but in comparison to the features and upgrades I can do…and in my case I don’t have it up and running 24/7 as I use it primarily for storing my photos and documents…
- Dell T320: ~110W (while data transfer with 6 installed drives)
- QNAP TS-451D2: ~30W (while data transfer with 3 installed drives)
Is it an unfair comparison?
Maybe you might think that comparing a consumer NAS with a small-business server might not be fair, but I there are a few points to mention which might change your mind.
Complexity
If you have no clue and/or interest in these topics, TrueNAS is definitely nothing for you, but the tons of features and functions of the QNAP will also overload you with a lot of technical terms etc. It might be a little bit easier as you have guides and help – but it will definitely not be a walk in the park to do it right (so more than just one disk with one share and that’s it).
However, if you are interested and also committed to spent some time with getting familiar with TrueNAS and ZFS, from my point of view it has the more structured UI and offers you a ton of features and functions. Once I’m confident enough to be able to write something about it, I maybe will – but currently I’m also still learning 🙂
Performance
As already said I’m also still learning and getting started with TrueNAS, but one thing I experienced with QNAP was that it seem to have a small problem with copying a huge amount of small files. In these cases the transfer rate dropped (nothing huge, but noticeable with large amounts – which are honestly not a daily occurrence). In addition rebuilding errors or an exchanged disk should be faster from what I read about ZFS – hope I never get to that point 🙂 Apart from that I’d like to compare data transfer and handling with 4 disks in RAID.
Upgradeability
Yes, this one might be unfair to compare both systems and there are arguments for or against each of the systems. I know the T320 is an old system but it works…so why not give it a “second life”. Others say “…buy what you need; sell it and buy a new one if you need an upgrade.” I think go for sth. in between 🙂 With the Dell I bought what I need + some headroom and when I need an upgrade (e.g. 10GBit-Ethernet, additional HDD’s, more RAM) then I buy these parts 😛
One more thing…
There are two annoying things about the QNAP NAS.
The on/off/reset/reset-to-factory-defaults button
There is one button to switch the device on, off, reset it and reset it to factory defaults. It happened twice to me that instead of switching it off I did a complete reset to defaults. Accounts, settings, shares, installed apps…gone. The difference is how long you press the button. 1 second, 3 seconds, 10 seconds, more than 10 seconds.
The UI / UX
The different views are launched in a window-kind-of view. So no fullscreen and always look like a popup. You can maximize it, but once you navigate to a new app/menu item the size is not kept. So you constantly maximize the screens. As the whole thing is a website it does absolutly make no sense to have that virtual window appearance.
Popups – guides, tutorials, help, updates, licence, whats new – these are the other popups you will get. Sometimes there are 3-4 popups stacked on top of each other to let you know there is a licence you should accept, there is a help page, how you can get started, what’s the new features and if you want to be reminded of sth. again (everything in it’s own popup – shown at the same time). Each has its own representation of “don’t show again”. It can be a button, a checkbox, a drop down list…or…drumroll…a popup itself, which pops up if you close a popup – funny right. No – Annoying.
Hope it helped or entertained…don’t know…like and subscribe – oh sorry wrong platform 😛
-
Flash ‘Dell H310’ to IT-Mode
Recently I bought a Dell T320 to be used as a Home-NAS (on steroids 😜 ). The plan was to run TrueNAS on it and as the T320 I bought on eBay already came with a Dell H310 RAID-controller…well, you know what happened, because that’s why you are here 🧐
Continue reading -
Raspberry Pi Printserver for HP CP1025nw
In 2014 I bought a HP CP1025nw color-laser printer for an incredibly cheap price. Now in 2019 I changed the first black cartridge and all the colors are still at 30% – so that’s how much I print 🙂 The printer itself comes with a USB-port, WiFi and a LAN port. So there should be plenty of options to connect it to any device or get it working with any device. The only missing feature is AirPrint, but that was a trade-off I made for the price.
Continue reading